You can have an unlimited number of ‘areas' to manage your restaurant. Each area is allocated to a ‘floor’ and contains tables & seats.
You can break a floor into multiple areas, which makes it easier to manage, for example, if you want to block a specific area for a private function or during quiet times, rather than having to block an entire floor or several tables one at a time.
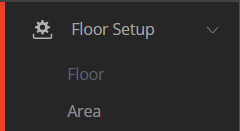
From the main menu, click on Floor Setup and then on Area

Click on the + Add Area button.

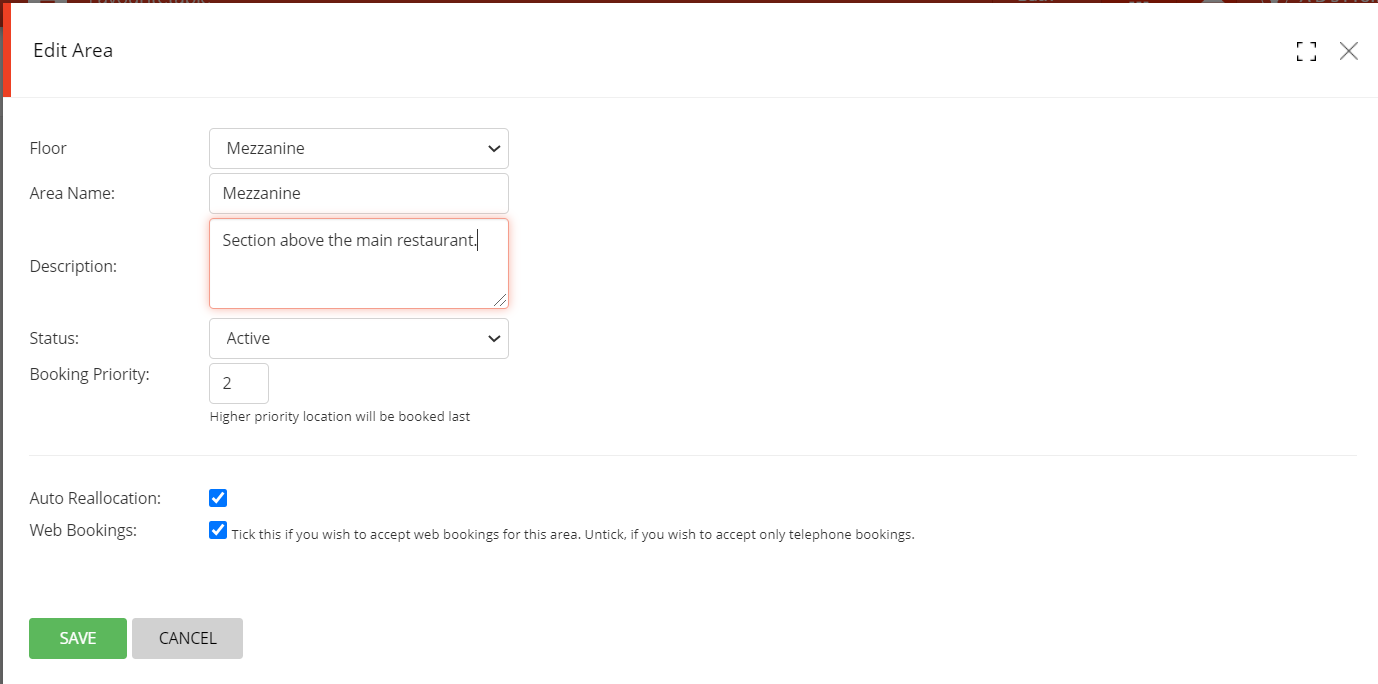
Select the Floor that the area is part of from the Floor drop down box.
Enter the name for that area in Area Name: and a narrative in Description:
The area should be made Active: if you want to be able to allocate bookings to that area. If you do not allocate bookings in that area, then it should be made Inactive (for example, a terrace area that is not used in winter months). Please note that unlike a block that is time specific - with a start and end date - the action to make an area active again is manual, rather than automated.
Priority: will determine the the priority that a table is allocated by the system, based on Area priority (the lowest number allocated will be picked first) + the tables allocation priority. So if you have Area 1 set to priority = 1 and Area 2 set to priority = 2, the system will prioritise tables in Area 1 and then use tables in Area 2. This can of course be manually over-ridden when taking telephone bookings or managing walk-ins.
In the example below, my floor called ‘Mezzanine’ is displayed in second position, with a setting of Priority: = 2

The Auto Reallocation option should be selected if you want the system to automatically reallocate an existing booking if you sit someone on a table that had been assigned to a booking. If a like for like alternative can be found (correct table capacity and booking allocated time), then the system will automatically swap the tables. If there is a conflict (not enough time available), then the system will display a message.
Web Bookings: This box should be selected if you want to display the areas on your booking widget for guests to select from.
When all information has been entered, click on SAVE.
The new area is displayed on the Area Management summary page.
Note: The minimum and maximum covers capacity is also displayed for each area, based on yoor tables setup (Lower & Upper Capacity).

To edit an area, click on the Edit icon
To delete an area, click on the Delete icon
Note: If you try to delete an area that contains one or more active tables, the system will notify you: This Area is configured for one or more tables/table groups.