
To create a newsletter, you need to access the Marketing Module.
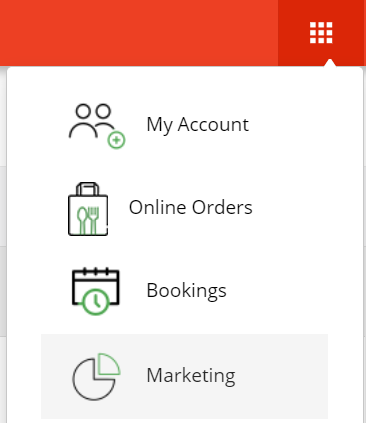
From the top menu bar, click on the Modules icon and select Marketing
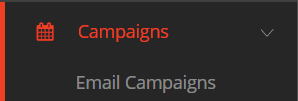
In the main menu, click on Campaigns and then select Email Campaigns.
To create your first newsletter, click on + ADD Campaign.

The first part of creating your newsletter consist of confirming the various elements that the newsletter recipient will see when they receive your newsletter.

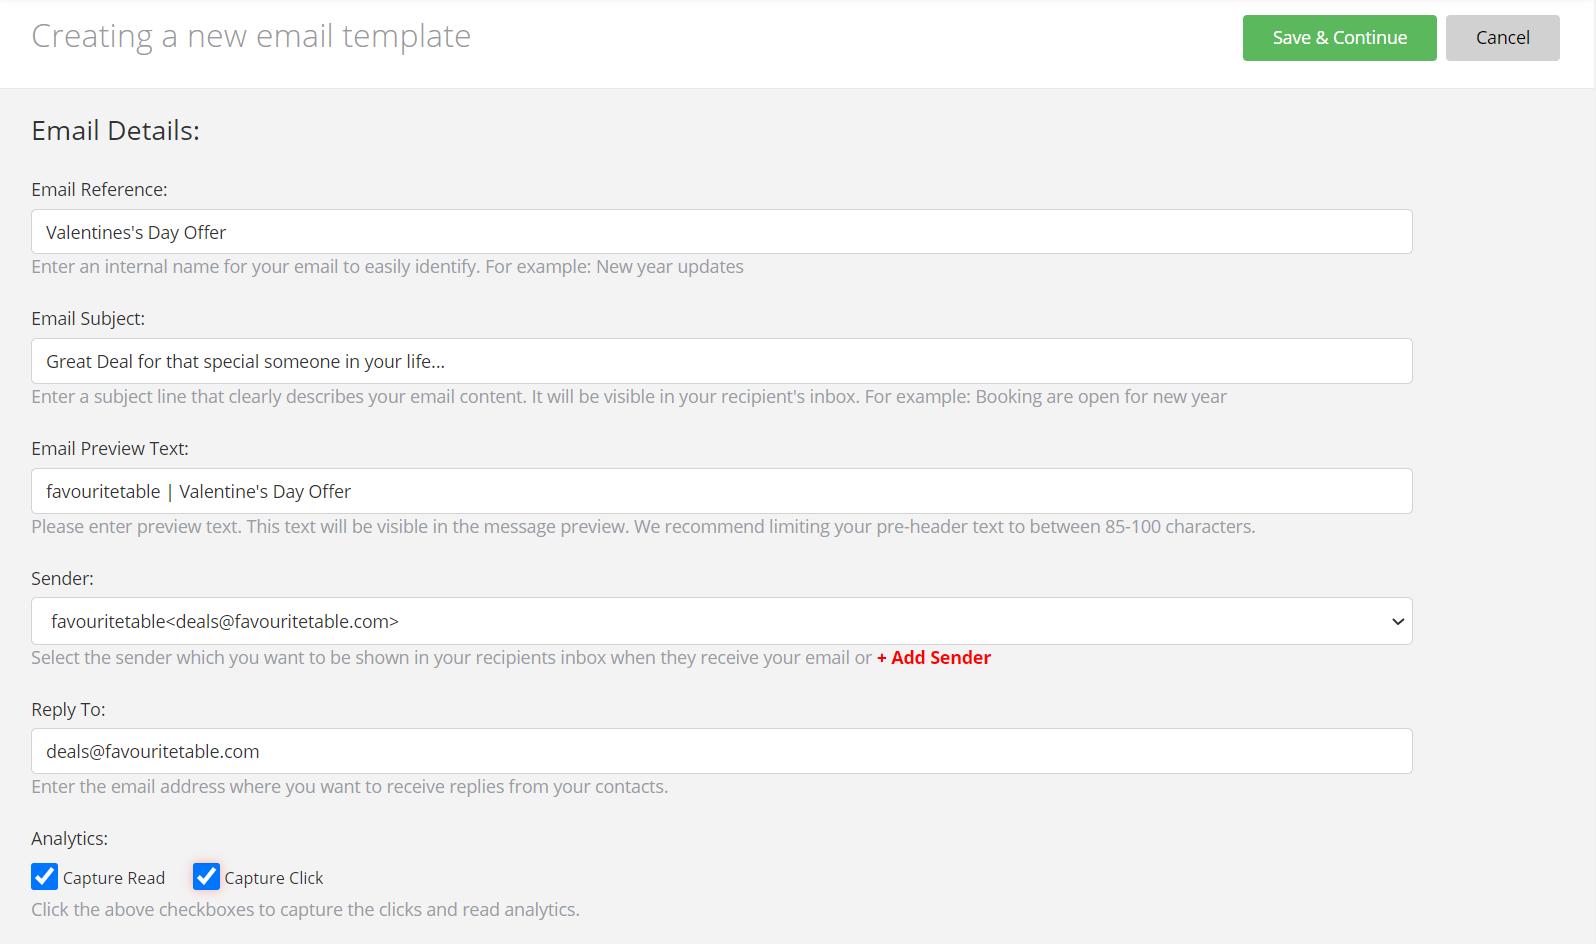
You can track information about each newsletter that you send. To do so, select the relevant box for:
This information will be shown on your main newsletters dashboard for each newsletter.

The next part of creating your newsletter is to select a template. Click on the template of your choice…
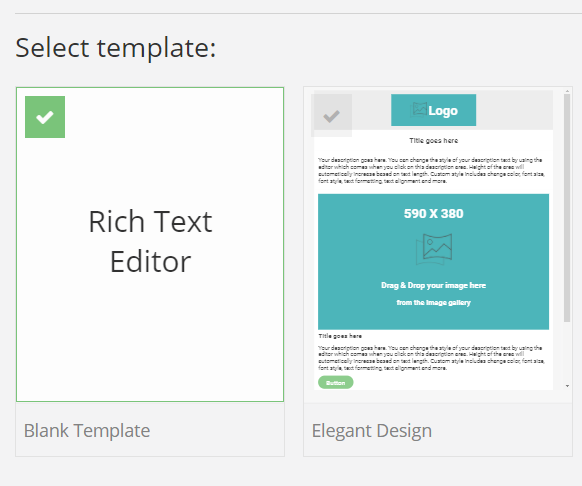
… then click on Save & Continue.

The easiest way to build your newsletter is to add elements as needed, from the Design Elements library. All elements are added with drag & drop and can easily be moved (as a block) within your newsletter. For more information about elements available, please click here.
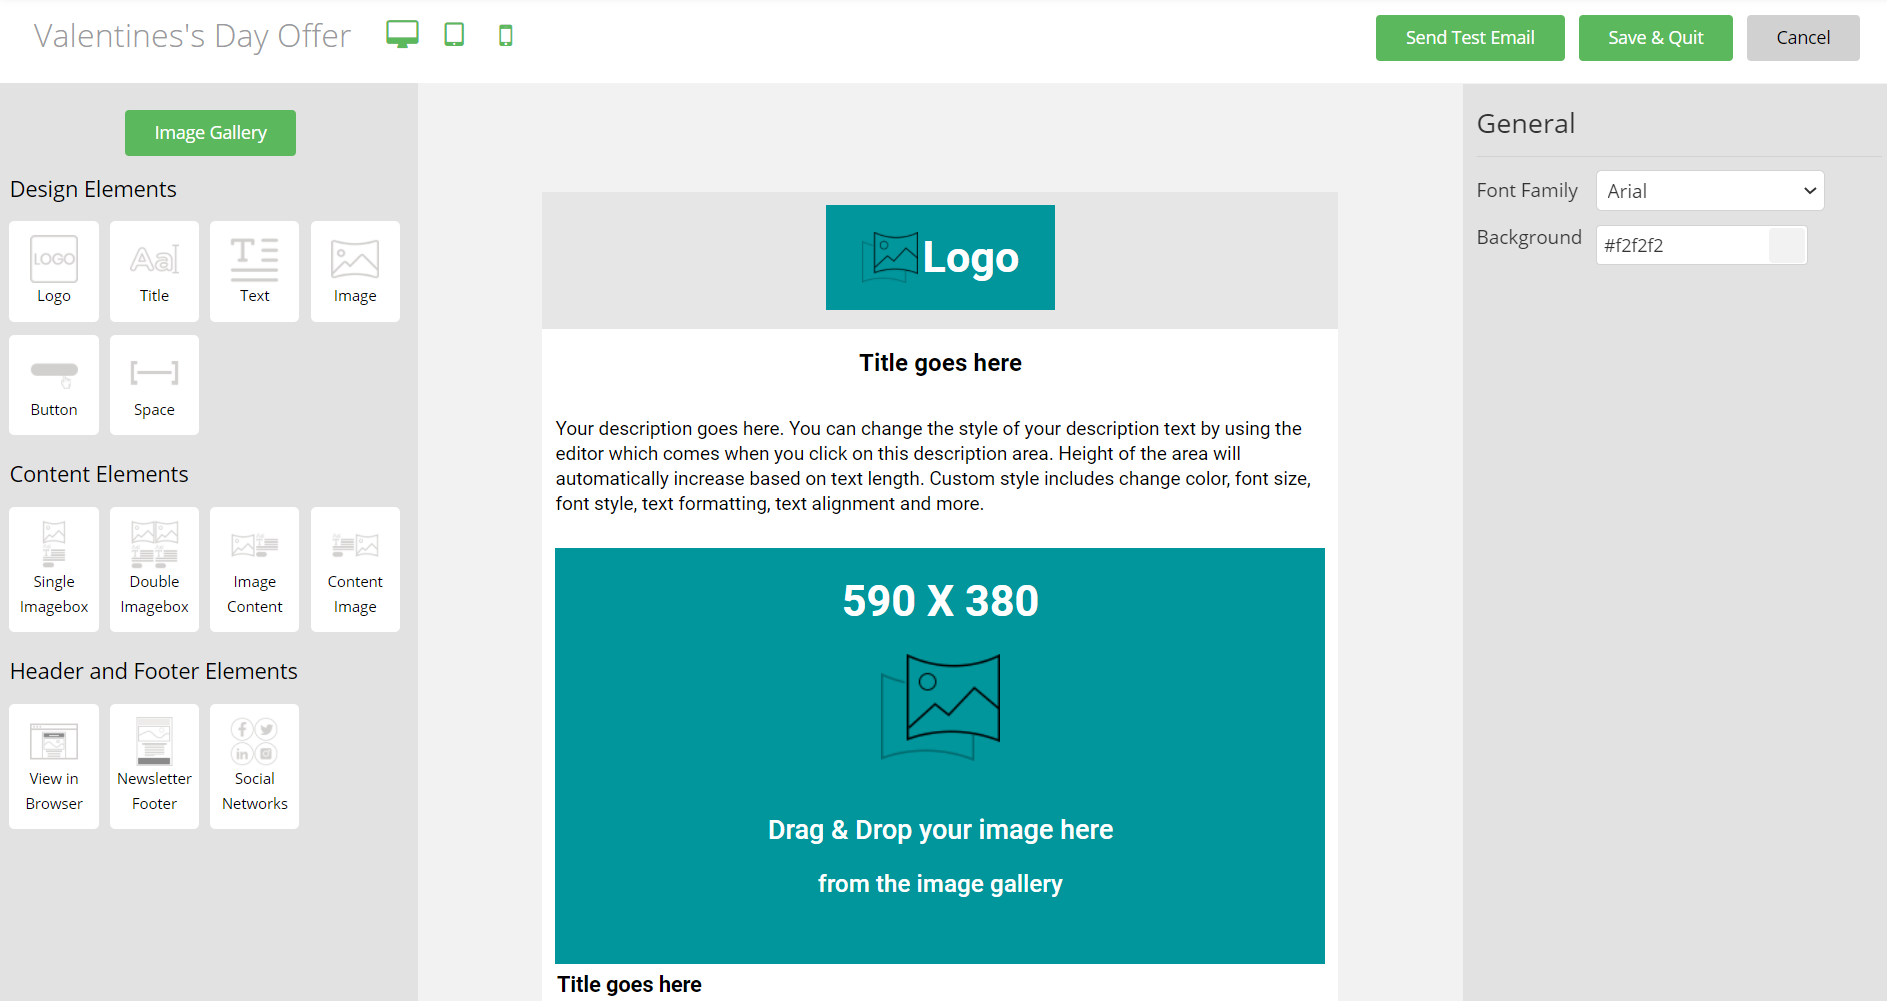
Once you are happy with your newsletter, click on Save & Quit.

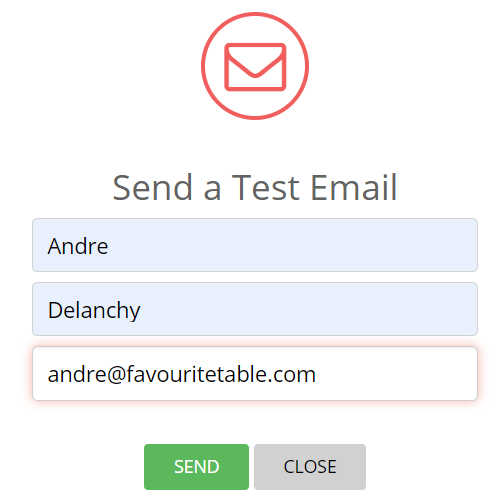
At any stage during the creation and design of your newsletter, you can send yourself a test email to see how your newsletter will appear when sent to your guests, by clicking on the Send Test Email button.

Enter your name & surname (optional) and then the email address to which you want to send your newsletter. Then click on SEND.
When your newsletter is finalised, you can then schedule it to be send. As part of that process, you can select:
To schedule your newsletter, click on the Edit button for that newsletter.

Scroll down to the bottom of that page and click on Schedule Campaign.

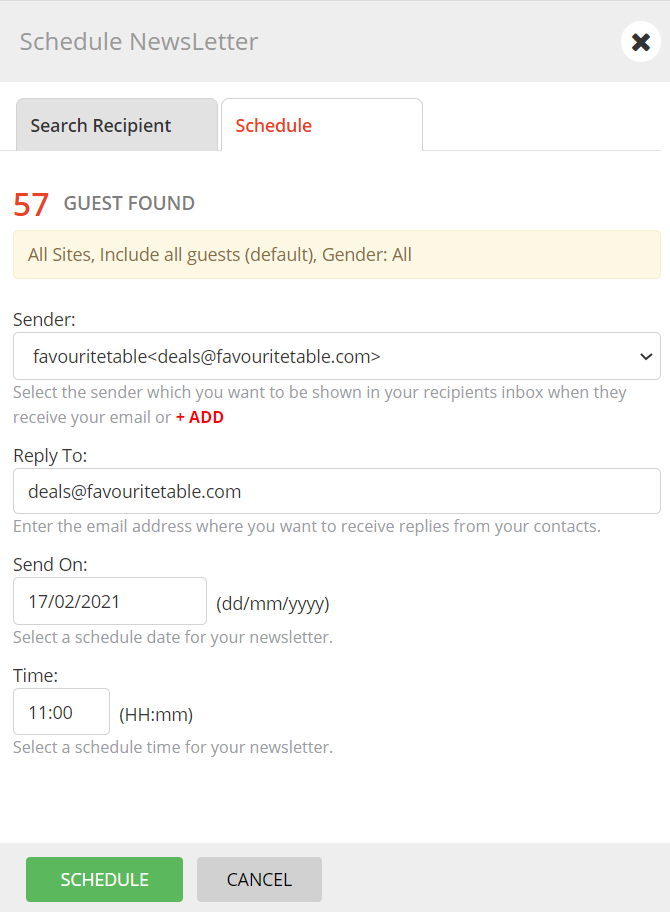
Step 1 allows you to specify when you want to send your newsletter.
Select the date (Send On:) and time (Time:) then click on SCHEDULE.
Step 2 allows you to segment your guests database to specify who should receive the newsletter, with the following options available:
The Filter Options includes the following:
You also have the ability to exclude cancellations & no shows from that list.
Final segmentation can include only guests who have interacted with a previous newsletter (opened/read the newsletter or click on the selected newsletter.
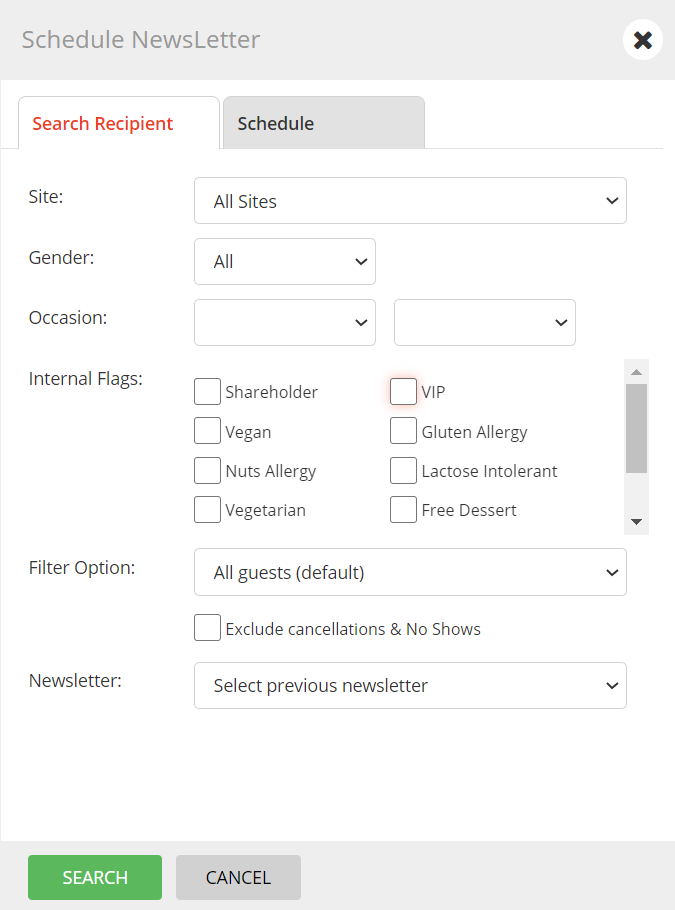
Once you are happy with your settings, click on SEARCH
The system will filter your guests based on your criteria and return the number of guests that will be included in your mail-shot. Click on SCHEDULE.
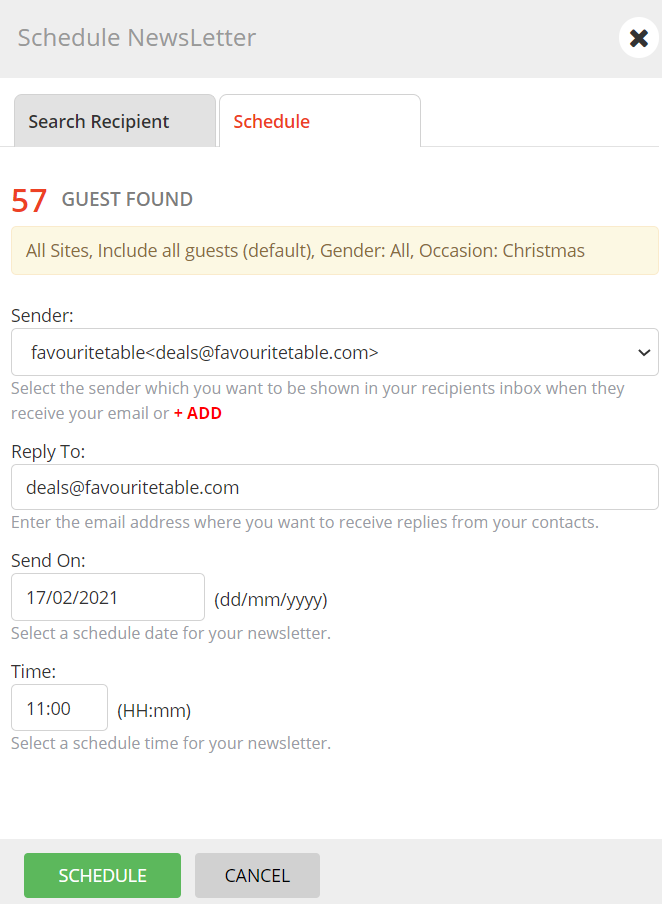
The email is now marked as Scheduled in your newsletter list.

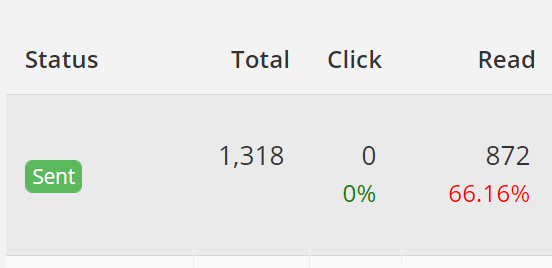
It will automatically be sent at or around the date & time you stipulated. Once it had been sent, it will change its status to Sent and will display the total number of guests who successfully received the email (as some email addresses in your database may be wrong or no longer active). This will also indicate the time and date it was sent at.
If you want to use an existing newsletter as a template for a new one, simply click on the Copy icon for that newsletter.
