
Below are additional features that can be added to the booking widget if required:
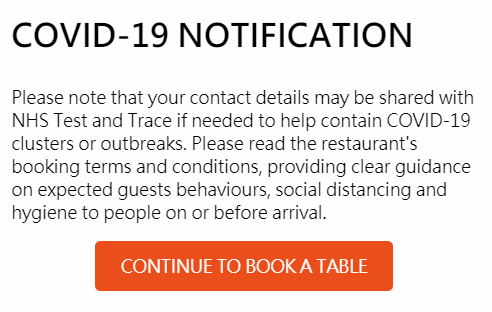
The Notification Screen can be added on the booking widget to provide key information to your guests before starting the booking process.
This is particularly useful to ensure that your guests have a good understanding in areas such as:
Click here to view the steps on how to setup an Intro Message.
Example:
This functionality allows you to add a Disable Access check box as part of the booking process so that the system can verify that the booking can be taken if you have available tables with disable access.
Please note that this functionality only applies if you are using the Table Management module.
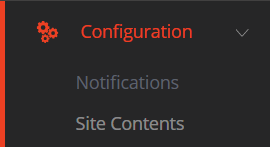
From the main menu, click on Configuration and then select Site Contents.
Locate and expand the Web Booking - Settings section

Locate the Show Disable Access Option in Web & Tel Bookings option and click on the Edit button.

Select value Yes and click on SAVE

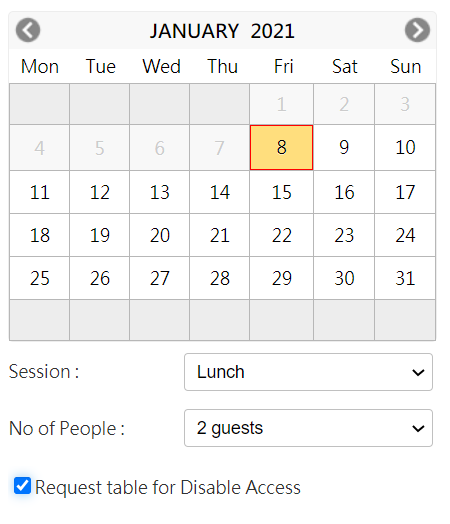
The booking widget will then show the option to Request table for disable access. If the box is selected, then the system will check that there is a suitable table available in order to complete the booking.
You need to make sure that you have tables setup to accomodate Disable Access requests. To do so, Click on Floor Setup and then click on Tables
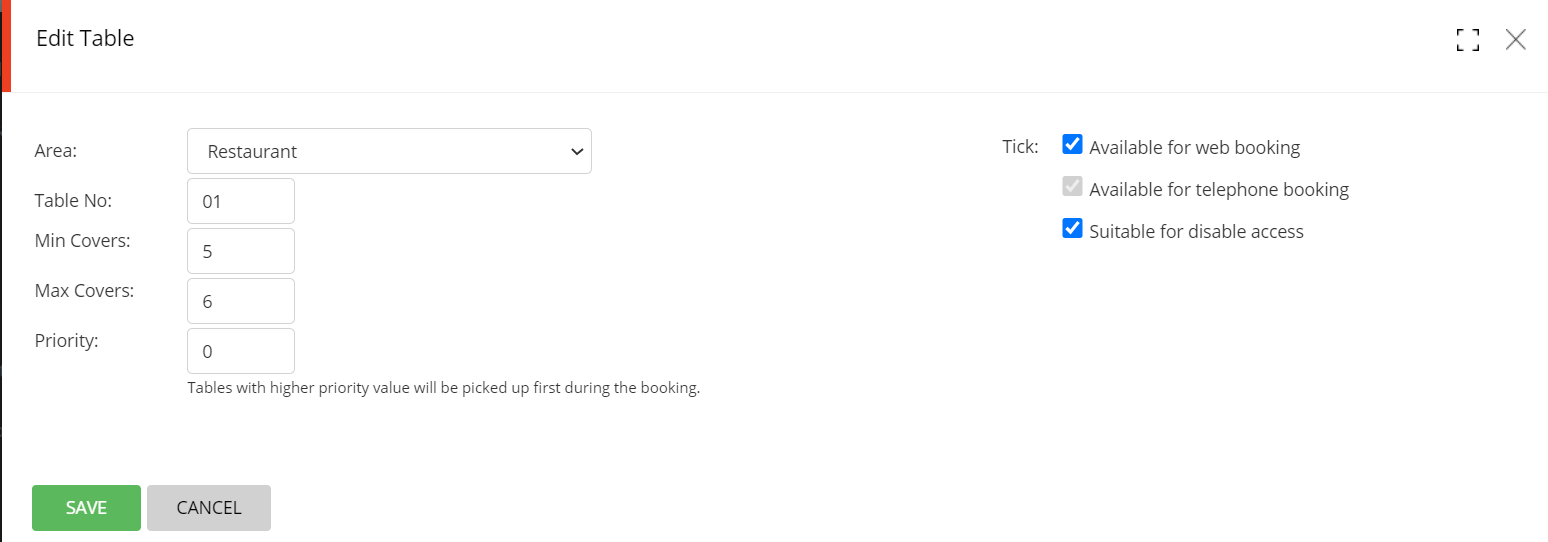
Click on Edit button for the table you want to add Disable Access attribute to. Select the Suitable for disable access box and click on SAVE.
All tables with that attribute will show a tick mark in the Disable Access column.

If you also use Table Groupings, you must follow the same above steps to allocate the Disable Access attribute to your selected Table Groupings.
Editing or Removing Disable Access Feature
You can edit the Disable Access feature at any time. by clicking on the Edit button. To remove the Disable Access feature, click on the reset button.

You can have an extra field for guests to stipulate number of infants in the booking. This will add an Infant icon to the reservation record.

This is an optional setting - please request the ‘Infant' feature from the Help-desk if required.
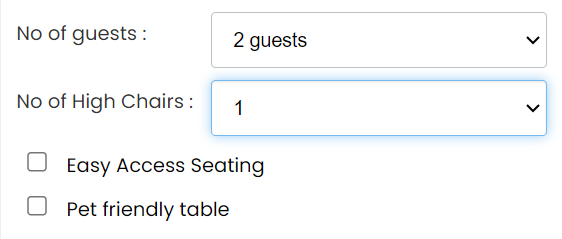
You can have an extra field for guests to select a table in a specific area of the restaurant.
This is an optional setting - please request the ‘Select Area' feature from the Help-desk if required.

Additional text can be added above the time slots on the second page of the booking widget.
This is an optional setting - please request the ‘Booking Rules Regulations' feature from the Help-desk if required.

This is an optional setting that shows an additional control that allows your guests to opt-in for email and / or SMS marketing, as part of the booking process. As per GDPR, an email will be sent to the guest to confirm that they wish to opt-in.
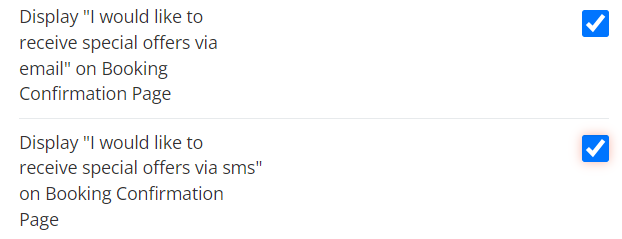
The text displayed can also be changed, as per your preference.
Please note that by default, guests have to opt-in, NOT opt-out.
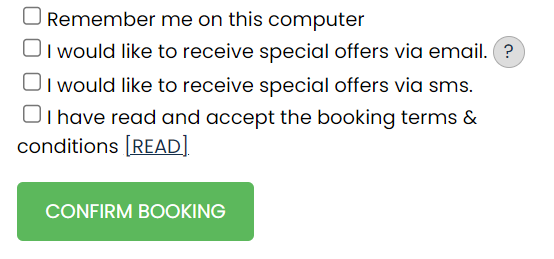
The Optin icon allows you to add a user defined message to provide more information with the ‘Subscribe to email newletter’ opt-in option.
To create your message, form the main menu, click on Configuration and then select Site Contents.

Locate and expand the Web Booking - Messages section

Click on the + sign for entry Popup message for optin icon.

Enter your narrative in the text box and then click on SAVE
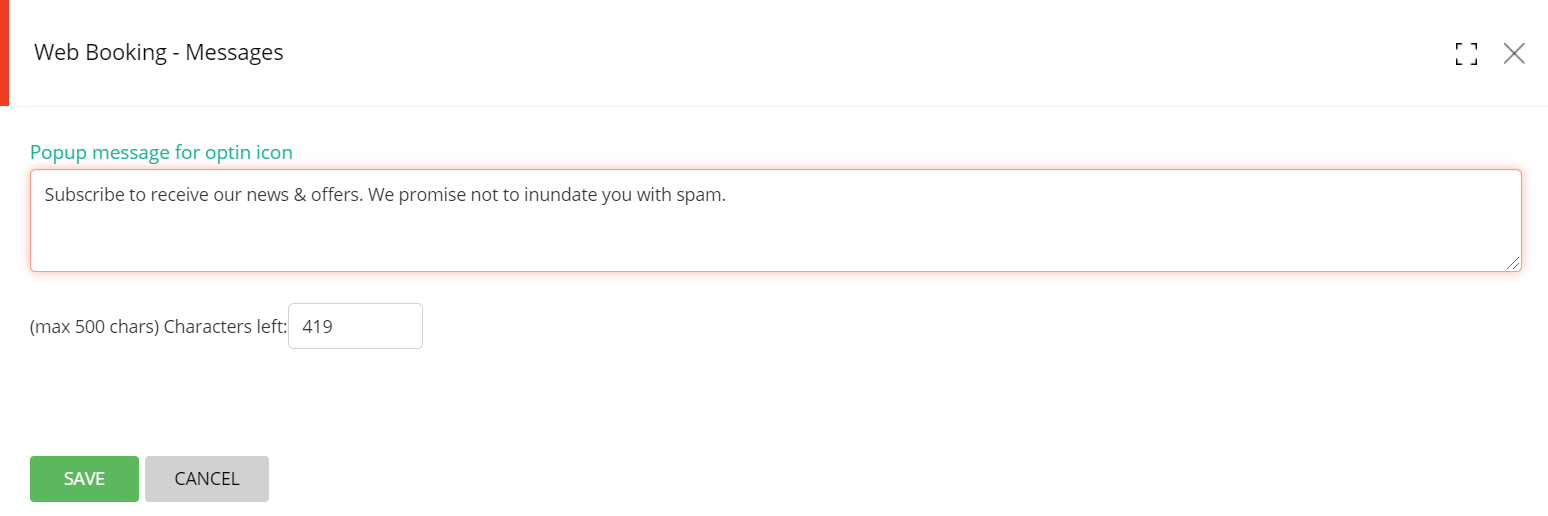
Your text is now saved. You can edit that text at any time by clicking on the Edit icon or remove it by clicking on the Reset icon.

In the guests details screen on the widget, a new ? icon will be displayed.

Guest can click on that icon to display the additional narrative.
