You can add one or more tags specific to a guest. The guest tags are appended to the guest's profile and remain visible for any future booking made by that guest. If you wish to add a tag that applies to a booking only, then you must use Booking Tags.
You can add one or more tags specific to a guest by clicking on the guest name in Booking Diary view

or you can click on the Edit button for that booking, then click on GUEST INFORMATION

and then click on EDIT GUEST CARD

Click on the Edit button in the top right…

Click on the drop down for Tags…

Select the relevant tag(s) you want to allocate to that guest.

You can add as many tags as you wish…

To remove a tag, simply click on the X at the end of that tag
Once this is done, click on the SAVE button

The tags are now appended to the guest's record. Please note that the tags are only displayed in full in Booking Diary view. In Floor Plan view & Table View Diary, if tags are used for a booking, it is demoted with an orange star * - simply click on the booking to reveal the tags.

Please note that making a tag Inactive will remove that tag from any records where it was previously added. Editing the name of a tag will change that name in any records that were previously allocated that name.
If you wish to remove tags from the displayed list of available tags, click on My Account

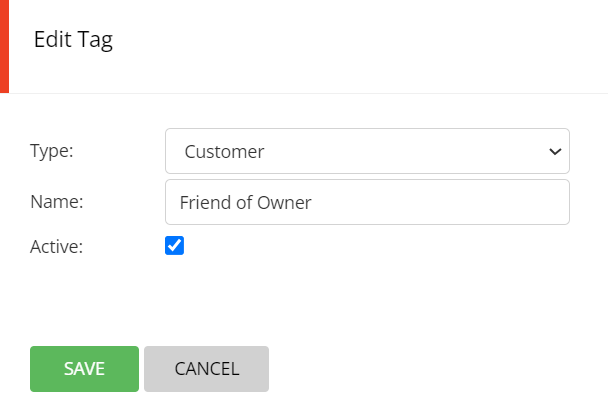
In the main menu, click on Configuration then click on Tags. Then click on the Edit button for the tag you want to remove. Make sure that you select option: Guest in the drop down list at the top.

Make that tag inactive by unselected the Active: status then click on SAVE

If you wish to add more tags to appear in the displayed list of available tags, click on My Account

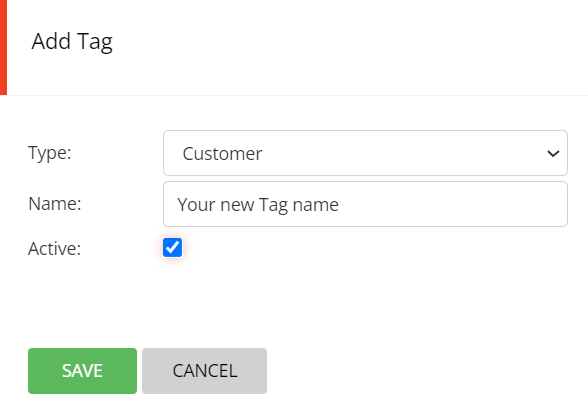
In the main menu, click on Configuration then click on Tags. Then click on the + Add Tag button. Make sure that you select option: Booking in the drop down list at the top.

Enter the name of your new tag, make sure that the status is set to Active and then click on SAVE.
